Tuesday 15 October 2013

Car Crash Damage To Mazda 6 - I Dont Think I Will Be Repairing That

My Plans To Restore My Mazda 6 To Something Like New Condition Have Had A Bit Of A Setback Today!


A bit of a dent

You may have seen in my previous posts how I had decided to do some work on my wife's Mazda 6 hatchback.

The idea was to spend a little time but not much money on generally servicing and cleaning it up so it was looked more appealing and by fixing a few minor faults it would last another few years without her complaining that she needed a new car.

Well as you can see in the picture it has had a bit of a bump. Somebody ran into the back of it when we were waiting to turn right at a junction, A crash has happened at least once a week in the same spot for years ( not to me ) so I don't know what it is about that junction but this type of accident is very common there so there must be a reason although the road surface is not the best so that could be a factor.

Anyway the nice lady at the insurance company says im sure it can be fixed, you would be surprised what the body shop can do. I'm sure that anything can be fixed if you throw enough money at it but with my semi expert eye the damage to the back panel, hatch back, both rear wings and boot floor I would guess the damage to cost twice what the car is worth so we will see what happens.

Sunday 6 October 2013

2013 Korean F1 GP - Dont tell me the result I haven't watched it yet

How hard can it be to NOT HEAR THE RESULT of an F1 race?


I missed the race live this morning and am just sitting down to watch the replay at 1pm UK time.

Now obviously I dont want to know the result but as always happens with any sport when you want to find out the result you ask around and no one knows, you watch the news and the only result not shown is the one you want to know, you cant find out however hard you try.

But try and avoid finding out, its nearly impossible, The result is EVERYWHERE. Its the headline on every news program, Your neighbors have the TV on so loud you can hear it, Your friends tell you, Random people in the shop start talking about it.

So today I have stayed indoors and not turned the TV on until the program started so up till now I have managed to avoid hearing the result so maybe this will be a first, we will see!

Saturday 5 October 2013

Review Of My 2005 Mazda 6 2.0L TS2

A review of my Mazda 6 2.0L TS2.

File pictures


I was talking to a friend about his Audi that has got major engine problems again and how he has spent quite a lot of money on the car over the 70,000 miles he has had it.

This got me thinking about my Mazda 6 and how I had not really thought about its reliability over the years.

I then realized why I had not thought about the reliability of my Mazda, its because it has been totally reliable and has only ever let me down once and that was just a weak battery that just needed replacing.

So I just thought I would give you a brief story of my Mazda ownership and what I thought of the car and the problems I have had.


  • The Car is a Mazda 6 TS2 with the 2000cc petrol engine.
  • Owned since new in 2005
  • Has now done 125,000 miles, mostly start stop town driving with occasional long trips.
Now I will list the problems I have had in that time

  1. New battery at 50,000 miles - the only time it hasn't started first time
  2. New front discs needed at 75,000 miles
  3. New clutch needed at approximately 85,000 miles
  4. Throttle body and MAF sensor cleaned due to rough idle
Now looking at that list I would consider that to be totally acceptable reliability and you could even consider those items on the list as consumable service items that have a certain service life anyway.

So If you take into account my experience of Mazda ownership then I would rate it as incredibly reliable and have been very pleased with the reliability so far.

Now it is not perfect so to balance this frankly excellent reliability I will briefly list what I consider to be some of the good and bad points of this particular model.

GOOD POINTS

  • Reliability
  • Looks good
  • Sporty handling
  • Fantastic Bose sound system
  • Comfortable
  • No rust

BAD POINTS

  • Fuel consumption not the best, 30 mpg in my case
  • Uses a lot of oil even when new, they all do that evidently!
  • Ride a little firm
  • Not the most powerful engine in its class
  • Paint finish slightly "orange peel" from new but it is durable, no rust
So That is briefly my review of my Mazda and from the lists above I think I would be able to recommend it to anyone as a good reliable and stylish family car.

I would be interested to know if my experience is typical of Mazda ownership or have I just been lucky ?


Saturday 28 September 2013

Moto GP Motorcycle Qualifying 28 August 2013 On Sky TV From The Aragon Circuit Near Alcaniz In Spain

 Moto GP Qualifying On SKY TV

What a fantastic performance by Bradley Smith to qualify in 8th place on the grid.

Just watched the Moto GP qualifying at the Aragon circuit near Alcaniz in Spain.
Predictably for a circuit located between Barcelona, Valencia and Zaragoza in northern Spain the weather was hot and sunny with increasing cloud as the day wore on.

The dry weather has made the qualifying fairly predictable in that the top 6 are pretty much as you would expect but I must admit I thought Rossi would struggle to get in the top 6.

But the outstanding performance for me was Bradley Smith in 8th place on the grid. The weather was good and no one appeared to have any problems with the bike or tires so that 8th is a genuine qualifying place and a fantastic effort.

So with the weather set to be similar tomorrow my opinion is that there will be few surprises and the race finish positions will be very similar to the qualifying results with people only swapping one or two places up or down from the qualifying.

Then again someone could always crash out and cause mayhem so as usual with Moto GP and motorcycle racing in general anything could happen and that is what makes it so exciting.

But keep an eye on Smith and hopefully he will keep that 8th place or maybe even improve !

2013 Arogon Moto GP Qualifying Results


  1. Marques     1:47.804
  2. Lorenzo
  3. Pedrosa
  4. Rossi
  5. Bradle
  6. Bautista
  7. Crutchlow
  8. Smith
  9. Dovizioso
  10. Espargaro
Cant wait til the race tomorrow and my top ten forecast is

  1. Marques
  2. Pedrosa
  3. Lorenzo
  4. Bradle
  5. Rossi
  6. Bautista
  7. Smith
  8. Dovizioso
  9. Crutchlow
  10. Hayden
We will see how close my prodiction was after tomorrows race !

Sunday 22 September 2013

Fixing Car Problems, Cleaning The Throttle Body And MAF Sensor On My Mazda 6 2.0L To Stop Surging, Stalling And Excessive Fuel Consumption

17 MPG from a 2 litre Mazda 6 saloon is not normal !

We have had the Mazda 6 5 door from new and it is now 8 years old and has done over 120,000 miles.

It has been very reliable and apart from normal service items it had needed a new clutch and new front discs at about 75,000 miles and that has been it.

I would highly recommend one to anyone as a sporty comfortable and for me very reliable car.

Now about a month ago my wife who normally drives the car said it had recently stalled a couple of times and was also using a lot of fuel.

It was about due for a service so I changed the oil and oil filter and also the spark plugs and air filter hoping this would sort the problems but it made no difference it still stalled occasional and was still only doing about 17 MPG.

So my next steps were
  • Check for air leaks in the induction side of the engine
  • Clean the throttle body
  • Clean the MAF sensor
I hope this will sort the problem without spending any money on what is now quite an old car!

To see how I did it and find out if it worked check out my video below


Tuesday 17 September 2013

Another appliance fire video ( not mine ) on Youtube

Found this one on Youtube

Watch it here  -  http://youtu.be/VyaPuPsge74

Could have been worse but see the comments from the video owner about the response from the manufacturer

The manufacturers indifference and denial of the problem is why I am so determined to let as many people know about this problem.


Exposing A Conspiracy By Major Companies. Added a video to youtube about the dangers of appliance fires in the home

I still believe this is a conspiracy of silence by major companies that should not be allowed to continue so Just a link to my video about the hidden danger in your home, please watch and share with as many people as you can,
IT COULD SAVE A LIFE !

Watch it here  -  http://youtu.be/nF9L7Mh52F4


Or Here


Please watch and share


Monday 16 September 2013

My Fridge Freezer Caught Fire !! Why I Am Pissed Off With Beko, Is It A Conspiracy Of Silence By Big Companys

Expose the conspiracy of silence perpetuated by appliance manufacturers by letting me know if this has happened to you.

Sorry about this post as it is nothing to do with my bike and you may think I am just having a rant and things cannot be perfectly reliable forever but I could have died and that makes me angry.

Not only could I have died but more importantly my family including my young grandchildren could have died and that makes me absolutely furious, Not only that but YOU AND ANYONE WHO HAS A FRIDGE IN THERE HOME COULD DIE TONIGHT.

What makes me more angry than anything else is the reaction of the manufacturer Beko, My requests for an explanation as to why my fridge caught fire has been met by complete silence, nothing, all I get when calling is an offer to send an engineer to repair it at my own cost, which I do not want, and if I email them with a complaint all I get is an automated reply saying they have received my email and that is it - THIS IS NOT ACCEPTABLE !

THIS IS A SERIOUS SAFETY ISSUE AND THEY ARE JUST IGNORING IT. If you search for fridge fire or appliance fire on Google you will find thousands of people that have had the same problem and many, many people have died in fires proved to be started by a faulty appliance.

Now you would think that if someone reported a deadly problem with something that is in virtually every home in the world the manufacturers would immediately investigate and modify the faulty part TO SAVE PEOPLES LIVES.

But no they choose to just ignore the problem knowing that we do not have a voice and if anyone does complain then who will ever know so they just carry on selling dangerous appliances that kill people and no one is ever the wiser.

So my appliance was manufactured by Beko so all others are safe right, WRONG!
For a start Beko is part of a huge group of appliance brands called ARCELIC whose brand names include:-


  • ARCELIC
  • BEKO
  • GRUNDIG
  • DEFY
  • ALTUS
  • BLOOMBERG
  • ARTIC
  • ELEKTRA BERGENZ
  • LEISURE
  • FLAVEL
  • ARSTIL
Nearly every brand you can think of has problems, just search for your appliance and ad catches fire to the name and you will see what I mean.

Anyway I just think everyone should know about this so share this post with as many people as you can, comment and add your own experience or just tell your friends and family about this, YOU JUST MIGHT SAVE THEIR LIFE


Saturday 14 September 2013

Compare Pole Position Times Between MotoGP Moto2 and Moto3 in 2013

I just thought it would be interesting to see the difference in pole position times between the three different classes of MotoGP bikes in 2013

MotoGP  Pole Time  =  1:32.915

Moto2     Pole Time  =  1:37.666         4.751 seconds longer than MotoGP

Moto3     Pole Time  =  1:42.707         9.792 seconds longer than MotGP


Interestingly the top Moto2 time of 1:37.666 would have qualified in 23rd place in the MotoGP race.
This made me wonder if the rules for each class make for a consistent overlap in speed so the fastest time in one class is equal to the slowest times in the next class up?
I wonder if anyone has any comments or research into this. as I would like to know whether this timing is by accident or design.


2013 Moto2 Qualifying Results From The Misano Curcuit San Marino Italy

Results for the Moto2 Qualifying at the Misano circuit San Marino Italy


  1. Pol Espargaro      Time   1:37.666
  2. Esteve Rabat
  3. Takaaki Nakagami
  4. Thomas Luthi
  5. Scott Redding
  6. Xavier Simeon
  7. Johann Zarco
  8. Julian Simon
  9. Marcel Schrotter
  10. Dominique Aegerter
  11. Mattia Pasini
  12. Nicolas Terol
  13. Danny Kent
  14. Jordi Torres
  15. Simone Corsi
  16. Mika Kallio
  17. Alex Marinelarena
  18. Sandro Cortese
  19. Randy Krummenacher
  20. Anthony West
  21. Gino Rea
  22. Alex De Angelis
  23. Louis Rossi
  24. Axel Pons
  25. Franco Morbidelli
  26. Jason O'Halloran
  27. Ricard Cardus
  28. Alberto Moncayo
  29. Thitipong Warokorn
  30. Steven Odendaal
  31. Ezequiel Iturroz
  32. Azlan Shah
  33. Rafid Topan Sucipto

Really looking forward to the race tomorrow could be anyone's race with such a strong field.

2013 MotoGP Qualifying Results From The Misano Circuit, San Marino, Italy

This is the result of the 2013 MotoGP Qualifying at the Misano Circuit San Marino


  1. Marc Marques        Pole time 1:32.915
  2. Jorge Lorenzo
  3. Valentino Rossi
  4. Dani Pedrosa
  5. Cal Crutchlow
  6. Alex Espargaro
  7. Stefan Bradl
  8. Alvaro Bautista
  9. Andrea Dovizioso
  10. Nicky Hayden
  11. Michele Pirro
  12. Andrea Iannone
  13. Bradly Smith
  14. Colin Edwards
  15. Hiroshi Aoyama
  16. Randy De Puniet
  17. Hector Barbera
  18. Claudio Corti
  19. Dannilo Petruccci
  20. Micheal Laverty
  21. Yonny Hernandez
  22. Karl Abraham
  23. Bryan Staring
  24. Lukas Pesek         1:37.886
Looks like its going to be an interesting race tomorrow.
I think Marques will win it but keep an eye out for Cal Crutchlow, Could be a top 3 finish for him and Bradly Smith could be a top ten finish for him.

2013 Moto3 Qualifying Results From The Misano Circuit San Marino Italy

Just watched the qualifying for the Moto3 race tomorrow and just thaught I would post the results


  1. Jonas Folger               Pole time   1:42.707
  2. Alex Rins
  3. Maverick Vinales
  4. Zulfahmi Khairuddin
  5. Niccolo Antonelli
  6. Miguel Olevera
  7. Eric Granado
  8. Isaac Vinales
  9. Alex Marques
  10. Luis Salom
  11. Jack Miller
  12. Alexis Masbou
  13. Philipp Oettl
  14. Efren Vasquez
  15. Romano Fenati
  16. Jakub Kornfeil
  17. John McPhee
  18. Arthur Sissis
  19. Alan Techer
  20. Alessandro Tonucci
  21. Niklas Ajo
  22. Toni Finsterbusch
  23. Livio Loi
  24. Brad Binder
  25. Matteo Ferrari
  26. Andrea Locatelli
  27. Lorenzo Baldassarri
  28. Ana Carrasco
  29. Luca Marini
  30. Juanfran Guevara
  31. Francesco Bagnaia
  32. Hyuga Watanabe
  33. Jasper Iwema
  34. Florian Alt
  35. Luca Amato               Time  1:46.031

Difference in lap time from pole to last on the grid is 3.324 seconds so quite a spread of times and back markers could come into play during the race.

So 35 runners including in 28th position Ana Carrasco who is as far as I know the only female rider currently racing in top flight international motorcycle racing.

I know that MotoGP is the top flight race and the one everyone wants to watch but if you want to see some fantastic racing make sure you watch the Moto2 and Moto3 races aswell.

I will post the qualifying positions ror MotoGP and Moto2 as they happen

Friday 13 September 2013

2013 San Marino Moto GP This Weekend What Chanel Will You Watch It On ?

MotoGP, The BBC and SKY TV

I am looking forward to watching the Moto GP this weekend

I don't know about you but I watch all the Moto GP races on Sky TV. In the UK we have two choices if you want to watch a Moto GP race, The BBC or Sky TV.

Now I know some people will disagree with me but I much prefer the commentary by Toby Moody and Julian Ryder on SKY TV to that of Steve Parrish, Charlie Cox and Suzi Perry ( although she is better to look at than any of the others !)

SKY TVs commentary just seems to be natural and unforced and full of information and honest emotion and they tend to just say it like it is, there does not seem to be any hype involved just two very knowledgeable guys chatting about the race. They seem genuinely excited and interested in what they are doing and would do it unpaid if they had to just because MotoGP is what they are into.

The BBCs coverage although very good technically is spoiled for me by the commentators trying to force the excitement on you and it always seems a bit false, like they are doing a job and it could be any sport they were asked to comment on and they would still have to try and sound interested and excited as that is their job.

Anyone agree with me or not ?. Who do you watch

Removing Rust And Corrosion From Your Motorcycle The Easy Way Using Vinegar

Removing rust and corrosion from your motorcycle the easy way using vinegar, Does it work ?


I said in an earlier Post that I had heard of an way way of removing rust and other corrosion from motorcycle parts using vinegar.

I am always looking to try anything that makes life easier and saves me money and many people have said this does work and so I decided to try it myself.

I decided to keep it simple so I decided to test this on the gas cap from the fuel tank of the Kawasaki Zephyr ZR750 as it is composed of several different metals all heavily corroded but was small enough to test easily.

The test was very simple


  1. Put the gas cap in a foil tray
  2. Cover it in distilled vinegar
  3. Wait 24 hours
That was it, To see the results of the test check out the video below, You may be surprised !


YOU CAN ALSO CHECK OUT MY OTHER VIDEOS ABOUT MOTORCYCLE RESTORATION 
ON YOUTUBE


JUST PUT OLD750 IN THE SEARCH BOX AND MY CHANEL IS THE FIRST RESULT


Tuesday 27 August 2013

A new experiment - Removing Rust And Oxidization Using Vinegar - Does It Work

After the seemingly successful experiment using brake fluid to restore old hard rubber parts on the old Kawasaki I am really getting into this experimenting thing.

I have seen another seemingly strange restoration technique on the web and that is using plain household vinegar to remove rust and corrosion from metal surfaces.

Supposedly this removes rust from steel parts as well as oxidization from aluminium and other alloys.

I have decided to test this on my corroded fuel filler cap as this has several different metals such as steel, aluminium, brass, and what looks like a type of zinc alloy as well, it also has a painted surface for extra interest.

So for my very technical and scientific test I am simply going to drop it whole into some vinegar and see what happens so check back in the next few days to see the results.

Make sure you click follow on my blog or subscribe to my youtube channel so you dont miss any of my posts or videos.

You could also share my blog and youtube channel with your friends.

Monday 26 August 2013

Restoring rubber with brake fluid - Link to videos

Just thought I would post my youtube videos of my experiment with brake fluid and rubber


I originally posted on my blog on 10 August 2013 how I did this but these are the videos I have posted on youtube since then.


Part one shows how I set up the test


And part two shows the results


Hope you find this test useful and don't forget to subscribe to my blog and Youtube chanel as I will be posting lots more tests and how to videos soon


Wednesday 21 August 2013

Why you should drain the fuel from your motorcycle gas tank

BE WARNED

Why you should drain the fuel from your gas tank

Many people will tell you that if you are going to store your bike for any length of time you must drain the fuel from the tank and carbs as it will go off.

What does go off mean and is it as serious as people say it is ?

It is as bad as people say it is !!!

As you know I am stripping my old Kawasaki Zephyr ZR750 with the intention of rebuilding it by saving as many parts as I can from the old bike using various weird and wonderful ideas I have seen on the net.

The idea is to spend as little as possible and use some unusual ideas to save and restore the original parts where possible.

One part I want to save is the fuel tank, once in very good condition and now very rusty inside.

Now the reason it is in such bad condition is because I did not drain the fuel from the tank and now that fuel has essentially turned to muddy water and has caused the inside of the tank to rust

The rust could have been prevented if the tank had been drained before storing and saved me a lot of work now.

Here is a video showing what I found when I did drain the tank !!


As you can see it is now basically muddy water with bits of rust in it

So ALWAYS drain your tank and carbs if storing a bike for more than a couple of months


Tuesday 20 August 2013

Doing My Research - Finding Free Alternative Restoration Techniques

Researching free restoration tips


The theme of this blog is to do as much restoration and tuning as I can to the old Kawasaki Zephyr ZR750 as possible whilst spending as little money as I can get away with.

Obviously most of these ideas will transfer to most Japanese multis from Yamaha, Suzuki, Honda or Kawasaki, in fact virtually any motorcycle you can think of.

When restoring or tuning motorcycles in the past I would aim for perfection as much as possible, not so I could show the bikes ( I have never put my bikes in a show ) but for my own satisfaction and the knowledge that I have done things the best way I could possibly do.

That approach is ok if you are willing to buy new parts when needed or have a large workshop with all the tools and equipment and skill needed to do major engineering work such as skimming the head but that is not the plan, the plan is to do this restoration as cheaply as possible using tools and equipment that nearly everyone has at home.

This bike is also a challenge to myself to try some of the more "unusual" ideas to be found on the net. Some of these ideas are things that were in common use many years ago such as lapping and reaming components instead of CNC machining.
Some will be back yard ideas that I have never tried and would like to see what, if anything does work and what doesn't.

I will not be blindly just picking an idea and just doing it, I will check out all the different suggestions and using my own judgement I will choose a method I believe it will work and try it out for real.

So at the moment I am spending a bit of time checking out ideas and deciding which ones to try so click the FOLLOW MY BLOG button to be notified of my new posts and videos as they are posted.


Saturday 10 August 2013

The Results Of My Test Using Brake Fluid To Restore Rubber Vehicle Parts

A Test Using Brake Fluid To Restore Old Rubber Parts

Having never tried this before I thought it would be interesting to see whether it does actually work so I decided to test it myself.
Ok the test is over and this is what I found

The Method


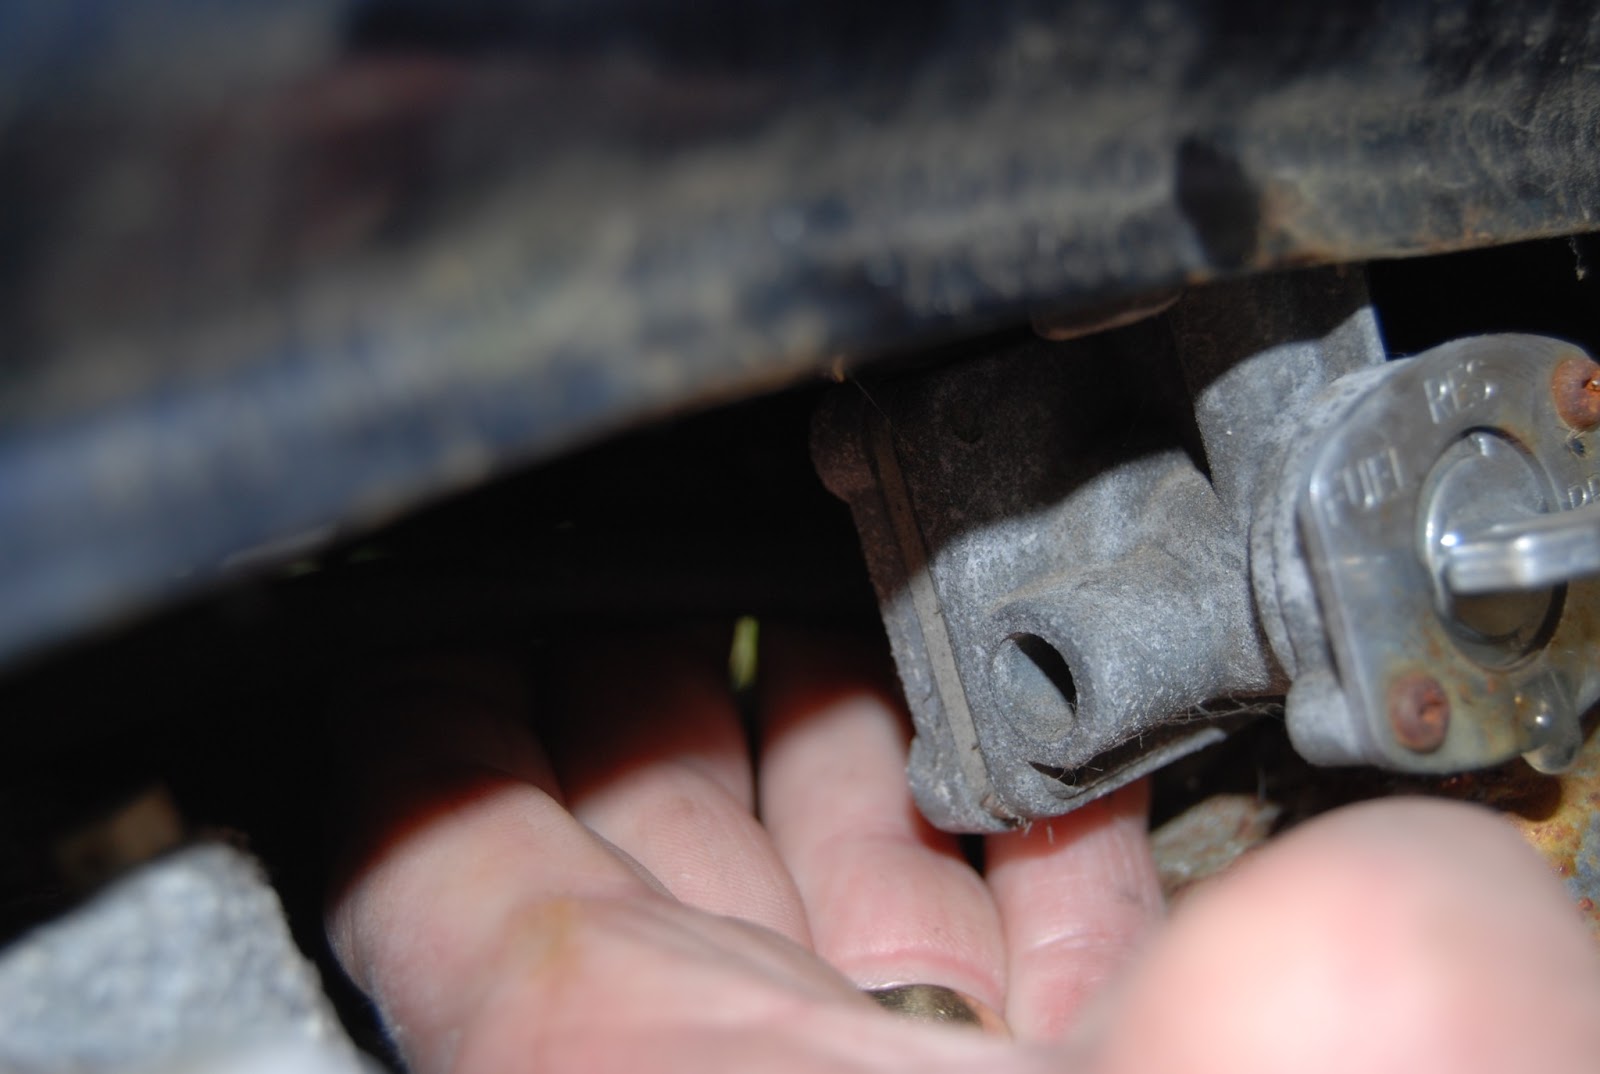
I took two rubber gromets from the fuel tank on my Kawasaki that had aged and gone hard and brittle.
They were very hard, almost like a hard plastic and if you tried to bend them they would just start to crack and break up.


As you can see one side ( the right ) looked perfectly normal but had gone very hard almost like a hard plastic and was virtually unbendable.
The other side ( the left ) had completely deteriorated and had not only gone hard but if you touched it it would just crumble into small pieces.


I simply dropped them into a foil tray and covered them in some old dot4 brake fluid I had lying around and left them to soak for 24 hours.


I simply dropped them into a metal foil tray


And covered them in some old dot4 brake fluid and left them for 24 hours


The Results

After 24 hours I removed them from the brake fluid and this was the result


When I removed them from the brake fluid I could not see any change, they looked just the same as when I had put them in with no swelling or distortion and totally intact, I had wondered if they might dissolve or melt but they looked just the same as when I had put them in the fluid the day before,


No visual change to the side that looked normal


The bad side also looked just the same as before although there was evidence of some slight dissolving of the rubber with a slight black slimy coating to the surface.
There was also some loose bits that came away when you rubbed the surface, these were the remnants of the crumbling that was evident before treatment but it appeared to have stopped any further bits crumbling off


.
The rubber was now completely flexible and in my opinion was now just as flexible as a new item would be.
The good side was literally as good as new and indistinguishable from a new item.
The bad side looked just as before but was now completely flexible and no longer cracked or crumbled when touched and seemed to now be completely restored.


The Conclusion

IT WORKS !

Much to my surprise this does seem to work. Having left them outside in the sun and rain for a couple of weeks they still seem supple and flexible and I would not hesitate to put these back on the bike.

It was simple, cheap and easy to do and seems to work very well but be careful as brake fluid is quite a nasty chemical so always follow all health and safety regulations.

IMPORTANT
ALTHOUGH MY TEST SEEMS TO HAVE WORKED VERY WELL THIS IS JUST MY LITTLE HOME TEST AND NOT A SCIENTIFIC EXPERIMENT.
YOU ARE RESPONSIBLE FOR YOUR OWN HEALTH AND SAFETY AT ALL TIMES NOT ME SO BE CAREFUL AND SENSIBLE AND DO NOT USE ON ANY SAFETY RELATED ITEMS AND IF YOUR ITEM DISSOLVES OR FALLS TO BITS DON'T BLAME ME I CAN ONLY SHOW WHAT HAPPENED TO THE PARTICULAR ITEMS I TESTED.

Tuesday 6 August 2013

Fuel Gone Bad - Why You Should Drain The Fuel From Your Gas Tank


Why you should drain the fuel from your gas tank


Many people will tell you that if you are going to store your bike for any length of time you must drain the fuel from the tank and carbs as it will go off.

What does go off mean and is it as serious as people say it is ?

It is as bad as people say it is !!!

As you know I am stripping my old Kawasaki Zephyr ZR750 with the intention of rebuilding it by saving as many parts as I can from the old bike using various weird and wonderful ideas I have seen on the net.

The idea is to spend as little as possible and use some unusual ideas to save and restore the original parts where possible.

One part I want to save is the fuel tank, once in very good condition and now very rusty inside.

The rust could have been prevented if the tank had been drained before storing and saved me a lot of work now but you live and learn so check out my video above to see what came out of the tank !

Tuesday 30 July 2013

Restoring Rubber Vehicle Parts Using Brake Fluid - Does It Work ?

During the stripdown of the Kawasaki I have noticed that most of the rubber parts on the bike have hardened and some have even started to crack.

Now normally I would just buy or make some new ones but the idea of this blog is to try and do as much as possible for free.

So with this in mind I have decided to try and restore the original parts without buying any special products and just use what I have lying around.

There are many different ideas floating around the net on how to restore rubber but the one I have decided on is soaking them in brake fluid.

There were two main reasons for this decision, firstly I had some old brake fluid lying around that I was going to depose of anyway so it would be free to do and secondly it required very little work, just drop the part in some brake fluid and wait.

So I will try this in the next few days and post the results good or bad.

Saturday 27 July 2013

Fuel tank removal page now complete


Just finished the page showing step by step removal of the fuel tank so I suppose the next page is going to be the stripping of the ancillaries from the tank and de-rusting ready for paint.

Wednesday 24 July 2013

Dodgy Fuel Tank And Not Giving In


Now the whole point of doing this rebuild is that I want to spend as little as possible doing it. Anyone can build anything they want if they throw enough money at it ( or throw enough money at someone else to build it for them !).

Ideally I would be able to do everything without spending any money at all but I know that for safety reasons or just common sense I will have to spend some money but I intended to use my own and hopefully your ingenuity and skills to reuse and repair the existing bike parts as much as possible.

This all sounded like a good idea at the time but one of the first things to come off the bike was the tank.
it looked ok from the outside, a little surface rust but not to bad.

Then I decided to open the fuel cap and look inside.

Two hours and much swearing later the fuel cap eventually came of, it had rusted itself shut and the inside of the tank is completely rusty and full of water.

Pretty nasty rust inside the tank
At least it does not leak

Now normally I would just scrap it and buy a new one but that's not the point of this project so I need to try and salvage this one and this is unfamiliar territory for me.
Cutting and reshaping, painting and stuff like that is no problem with the correct tools and equipment but rust well
I JUST DONT DO RUST.

I could cheat and buy a new one and just say it was fine all along but I am doing this as a challenge to myself and will be honest all the way through and anyway I do not give in that easily

So even this early in the project I am looking for ideas on how to de-rust and restore the inside of the fuel tank preferably for free or at least at very little cost and everything needs to be able to be done at home without specialist tools.

I will let you know what I decide to do and how it turns out in later posts but if any one has any ideas please let me know and I will chose one to try.

Sunday 14 July 2013

Removing the fuel tank, Yes I have actually done something

I have actually done something !

The sun is out and after going out for the day I have spent an hour on the bike. I know it my not sound very much but I have now got the seat and tank of and it feels like a project bike and not a pile of scrap.

So this is how I did It

Remove the seat by unlocking with the key and lifting it off, then remove the side panels, these are just held on by rubber grommets and just pull off.

You can then disconnect the battery, Sparks and fuel are not a good combination !

Then undo the two bolts on the back of the tank.


Under the left hand side of the tank pull off the two pipes attached to the fuel tap. The main fuel line to the carbs is on the right of the fuel tap as you look at it and the vacuum pipe at the rear of the tap

The main fuel line to the carbs just pulls off

And so does the vacuum pipe at the rear of the tap

Then on the right of the tank disconnect the fuel sender gauge block connector, You can see it in the picture below just resting on top of the carb.
Fuel gauge sender connector just pulls apart 

There are also two breather pipes under the right hand side of the tank, one from the fuel sender unit and one from the rear of the tank. You can leave these on the tank if you wish ( I did ) just note were these are routed as you will need to re route them in the same place on reassembly.


Breather pipe from fuel gauge sender runs under tank

Then runs parallel with the breather pipe  from the rear of the tank
down between the frame and the battery box

On this bike they were cable tied to the rear brake master cylinder

Then they run down through two loops on the swingarm

Its then just a case of lifting the rear of the tank and easing it towards the back of the bike to slide it off the two rubber locating lugs at the front of the tank. If you have left the breather pipes on then these just need to be eased out too.

And that's it the tank is off !

The underside of the tank showing the various parts underneath

At the bottom ( right hand side of tank ) is the fuel sender unit with the electrical connector and breather attached
and the other breather pipe at the rear.

At the top ( left hand side ) is the fuel tap showing the two pipe connectors.

Refitting is just the reverse of removal, 
I will show the restoration of the tank and bodywork in a later post and show the refitting when I finally resemble the bike .

Remember work safely and carefully and make sure you take note of any health and safety regulations at all times.


Thursday 11 July 2013

Rain stops play !

Rain Stops Play !

My decision to try and do this rebuild at home seemed simple enough.
I wanted to work on a bike like I did as a teenager, outside in the garden 
with just the basic tools I had at the time and usually with no money either.

  1. I knew I would not be able to use all my tools and equipment as they are at my workshop out of town.
  2. I knew I would be spending as little as I could get away with, just to see how much could be done on a very small budget.
  3. I knew that only working on the bike in my spare time after work would mean it wont get done in a few weeks, its going to be more like 5 months
  4. I knew that working on parts inside my home ( I do not have a workshop at home ) would not please my wife !

but that was going to be the point of this challenge and I was going to be quite strict on myself and follow the rules I set above and I have decided to do this blog partly as a way of enforcing those rules as that way you are watching me and will hopefully encourage me and keep me true to these rules.

BUT...................

I forgot about the BLOODY RAIN !

I expected to have the bike completely striped into its major components by now but it has rained every night since I decided to do this.

So as soon as its dry I will start but for now its just sitting there getting even more rusty.

Tuesday 9 July 2013

What have I done ........

Getting Motivated

Today I came home from work and took a look at the bike sitting outside in the sunshine.
I thought "bloody hell what am I going to do?"

Technically this bike is barely suitable for spares and I would not even entertain attempting to touch it under normal circumstances as it is not worth anything now and it wont be worth much even if I do get it looking good because its not exactly a sought after classic.
But then that is not the point, The point of this exercise is to see what I can do with no money and basic equipment to save this bike from the scrap yard.

It would be fairly easy to do something with it if I was prepared to take it to the workshop and throw some money at it as I normally would but this is going to be my challenge to myself, my attempt to do something the hard way, something to make me think !

So I will get on with the strip down and post my thoughts and progress as often as possible.


Sunday 7 July 2013

My Youtube Chanel

Well I decided to set up a youtube channel and add videos of the project so not only can check out the photos on this blog but I will add links to the videos as well. Hopefully you will enjoy the videos too.

This is the first one I have added to youtube as an experiment more than anything else and it just shows a walk-around of the bike as it was when I started, ( I have never posted a video before so this was really just to test how it works ).

Well here it is

Like I said this one is just a walk-around of the bike and if you have any suggestions for improving my videos please comment and let me know.

Thursday 4 July 2013

The beginning, a scrap motorcycle, no money and very little time

The bike I started With
I would like to end up with something like this !

As a lifelong motorcyclist who has been riding and fixing motorcycles for more than 40 years I have recently had a drastic reduction in my income and have had to sell my bike. 
I know it had to be done but not having a bike for the first time ever in my adult life is surprisingly depressing and I decided that I must get back on two wheels somehow.
Now I said I do not have a bike but that is not strictly true, I do have a bike an old Kawasaki Zephyr 750 that used to be my winter hack.
Now this bike was a bit of a wreck when I had it on the road but now having sat unused and untouched at the bottom of my garden for 6 years it is basically scrap metal and is probably worth less than £100.

Now I have decided this is probably my only chance to get back on the road. it is an absolute wreck but it did run before I abandoned it even if it was a little rattly from the cam chain and a bit of piston slap was evident when cold.

So this blog is going to chart my progress as it happens and I will add pages to the side bar on the right listing each section of the project such as frame, engine rebuild etc with step by step instructions on how I did it.

I will also have a page on costs of the project and a total expenditure for parts etc.

Feel free to comment on my methods and whether you agree or disagree on how I have done it or give any advice you may have to help, I dont mind anyone giving their opinion good or bad just try and be polite !

Remember this project is going to have to be done for virtually no money, obviously some items will have to be bought for safety reasons but I will be trying to find ways of improving what I have not replacing things that can be modified or repaired by me.